
CTI number settings (Numbers tab)
Configure a new CTI number from the Numbers tab on the WorkDial Setup page. Complete Gateway setup first, then work through each tab in order.
Step 1: Open the Numbers tab
Navigate to the WorkDial Setup page and click the Numbers tab icon. The page shows nine configuration tabs:
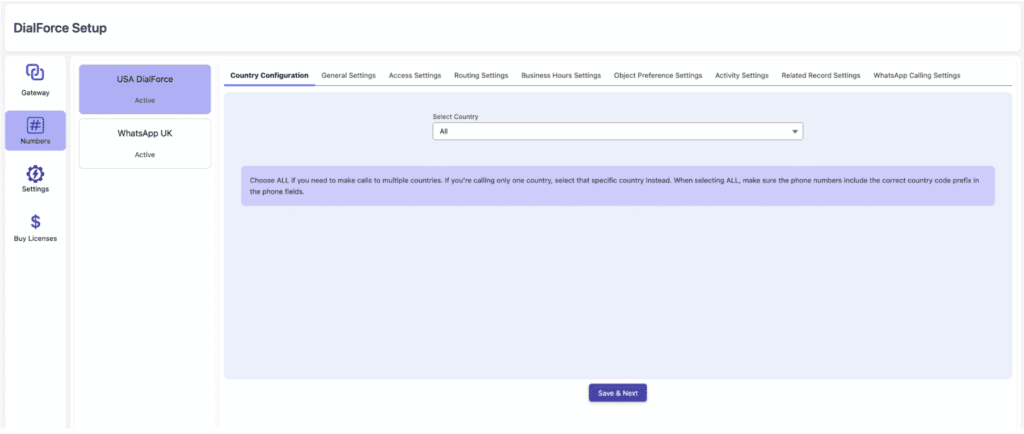
- Country Configuration
- General Settings
- Access Settings
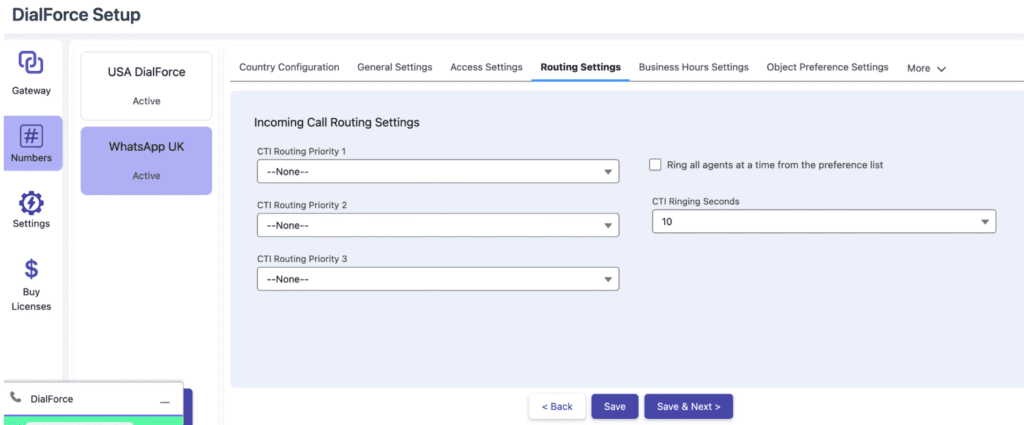
- Routing Settings
- Business Hours Settings
- Object Preference Settings
- Activity Settings
- Related Record Settings
- WhatsApp Calling Settings
Step 2: Country Configuration
Click the Country Configuration tab to open a dropdown labeled Select Country.
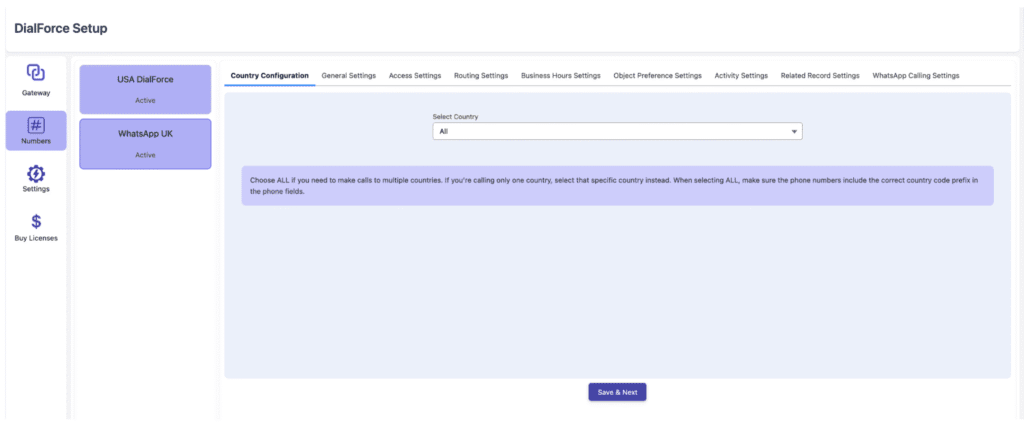
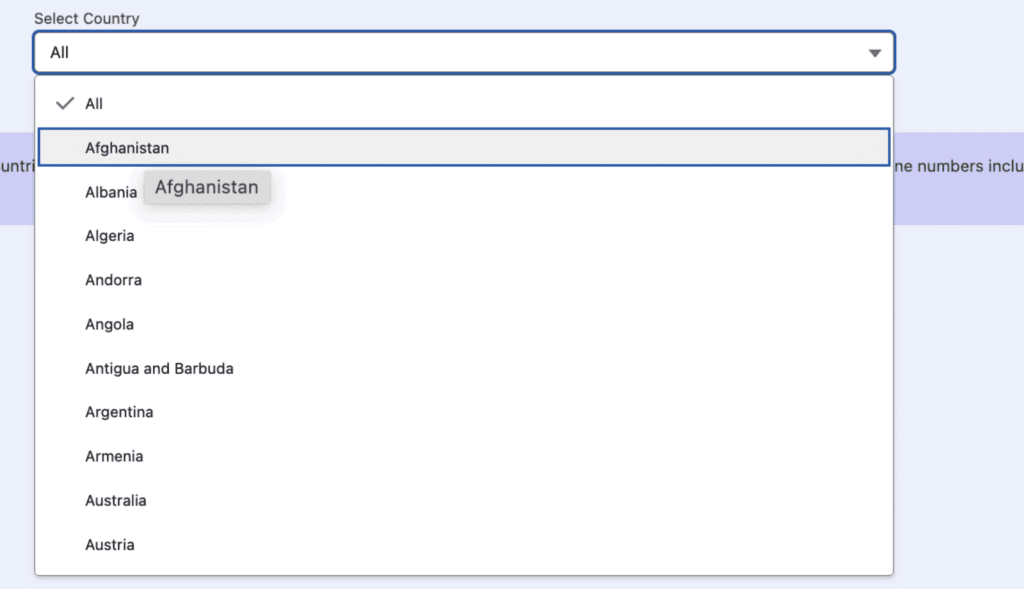
- ALL: choose this for calls to multiple countries. Ensure all phone numbers have the correct country code prefix.
- Single Country: choose the specific country if calls are limited to that region.
Step 3: General Settings
Click the General Settings tab and configure:
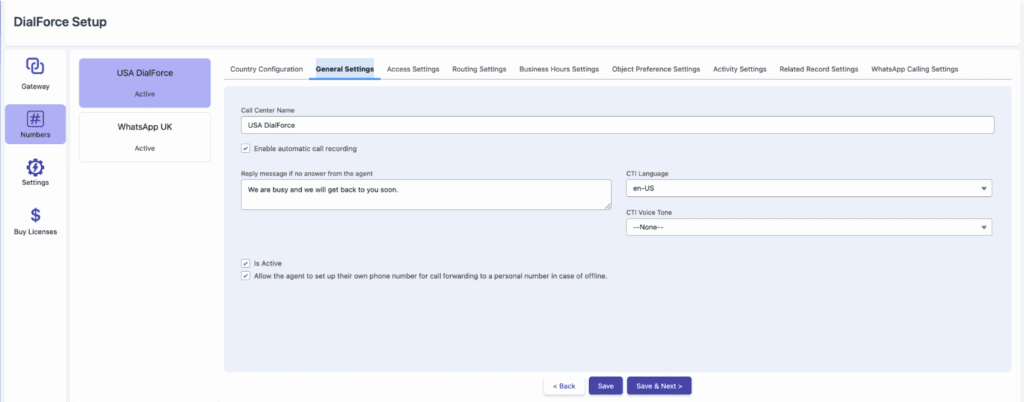
- Call Center Name: enter a label or name for the CTI number.
- Enable Automatic Call Recording: enable this to record all calls automatically.
- Reply Message if No Answer from Agent: enter the text WorkDial reads to the caller using text-to-speech when the agent does not answer a customer call.
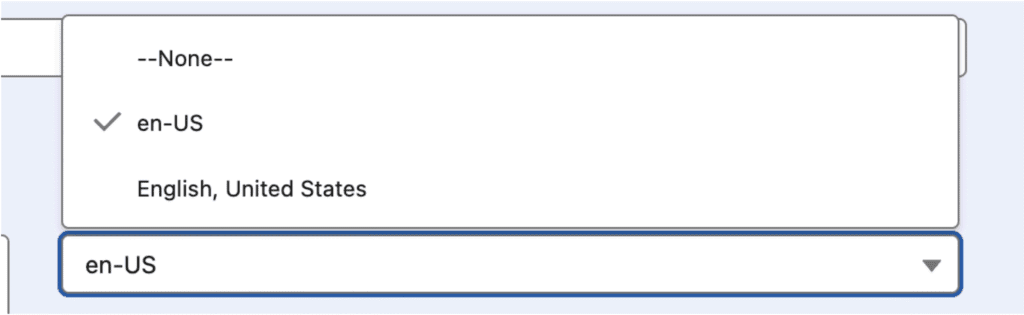
- CTI Language: choose the language for the text-to-speech no-answer message.
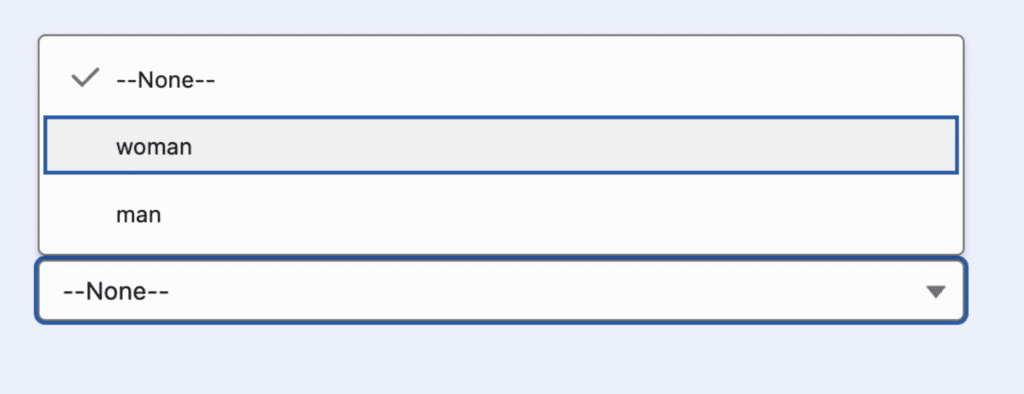
- CTI Voice Tone: select the text-to-speech voice used for the no-answer message.
- Is Active: enable this checkbox to activate or deactivate the CTI number.
- Allow Agent to Set Personal Forwarding Number: enable this to let agents forward calls to their personal numbers when offline or unavailable.
Step 4: Access Settings
Click the Access Settings tab. This controls who can use the CTI number.
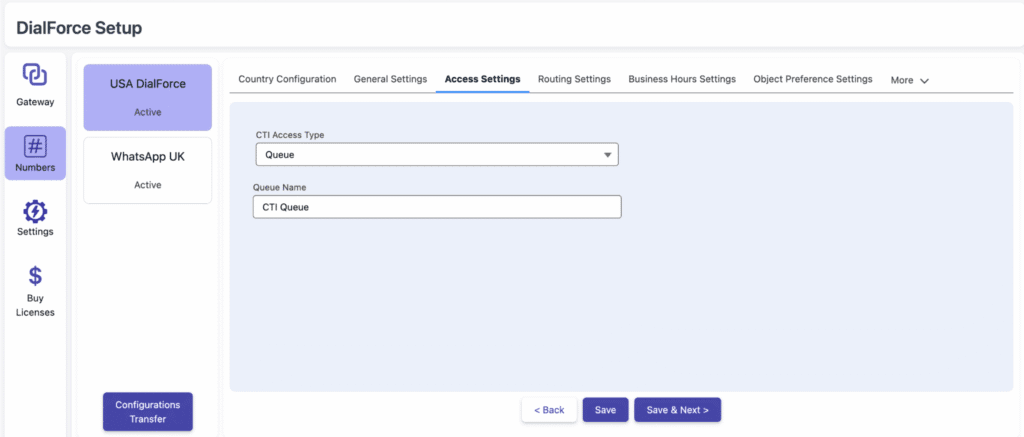
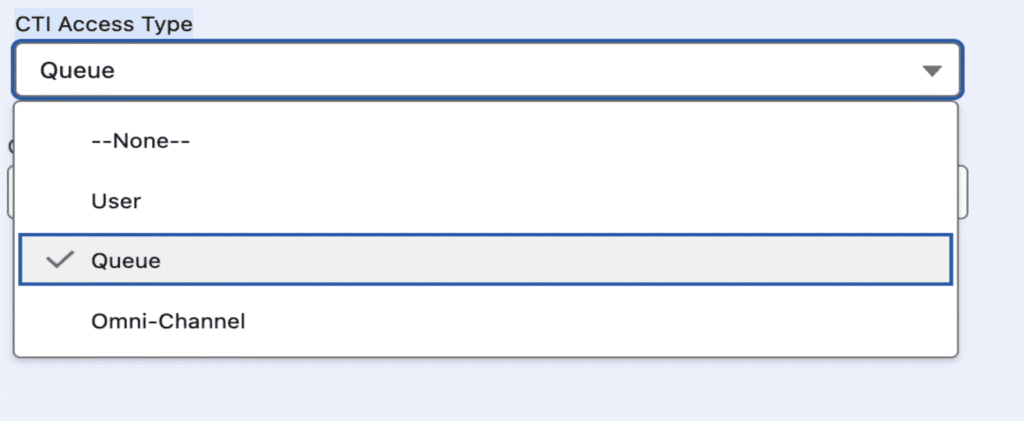
- CTI Access Type:
- User Type: assigns the number to a single agent.
- Queue Type: allows multiple agents (a team or queue) to use it.
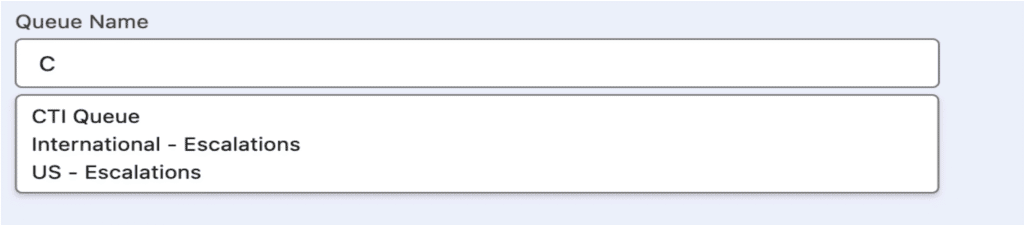
- Search Box: use the search bar to find and assign users or queues.
Step 5: Routing Settings
This tab is visible only when Access Type is Queue or Multi-user. It determines how incoming calls are routed among multiple agents.
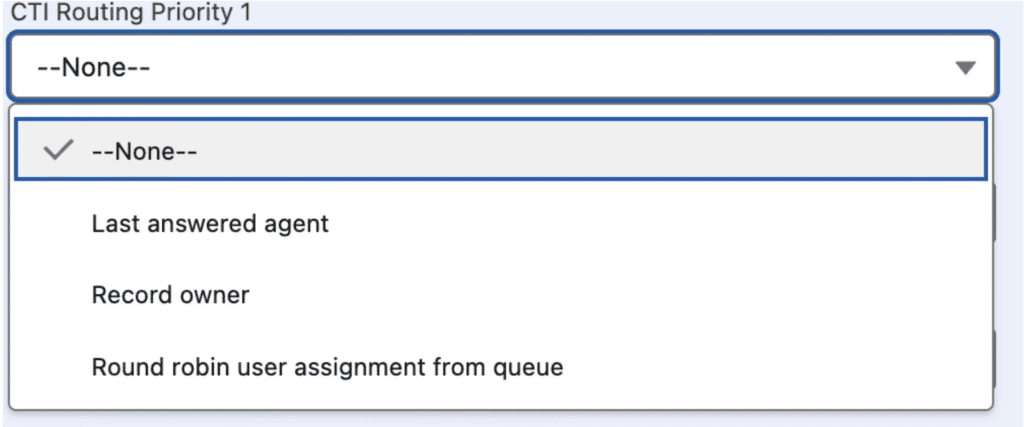
- Last Answered Agent: routes the next call to the agent who last answered the number.
- Record Owner: routes the call to the agent who owns the customer record (if matched by phone number).
- Round Robin Assignment: calls rotate through agents in the queue in sequence.
Additional settings:
- Ring All Agents at a Time: enable this to ring all agents in the queue simultaneously.
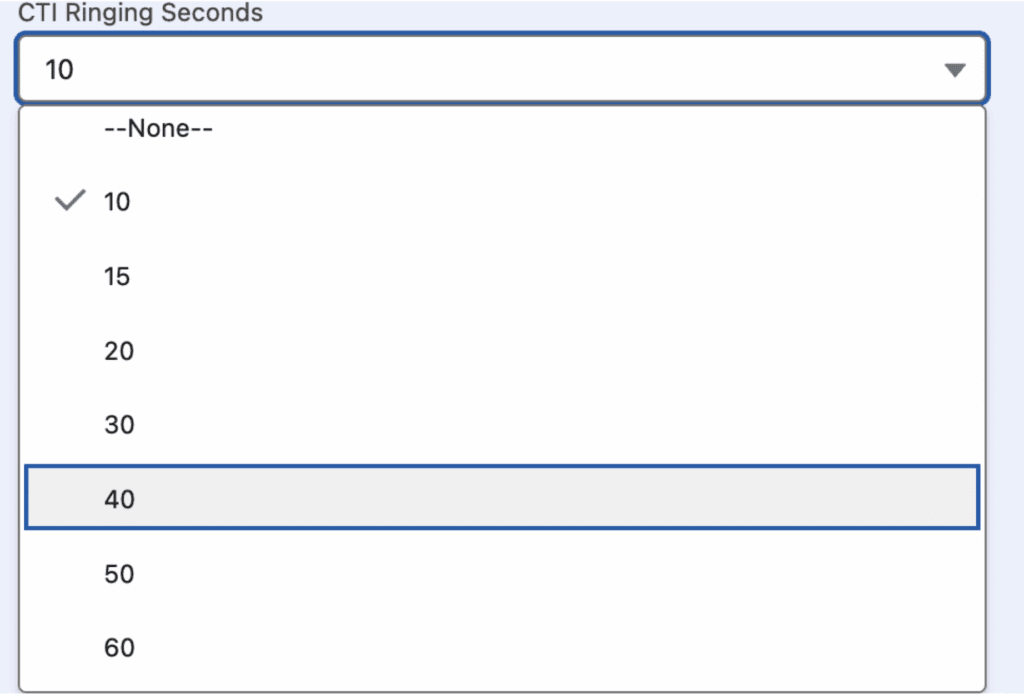
- CTI Ringing Seconds: define how long the phone rings before moving to the next agent (in seconds).
Step 6: Business Hours Settings
Click the Business Hours Settings tab.
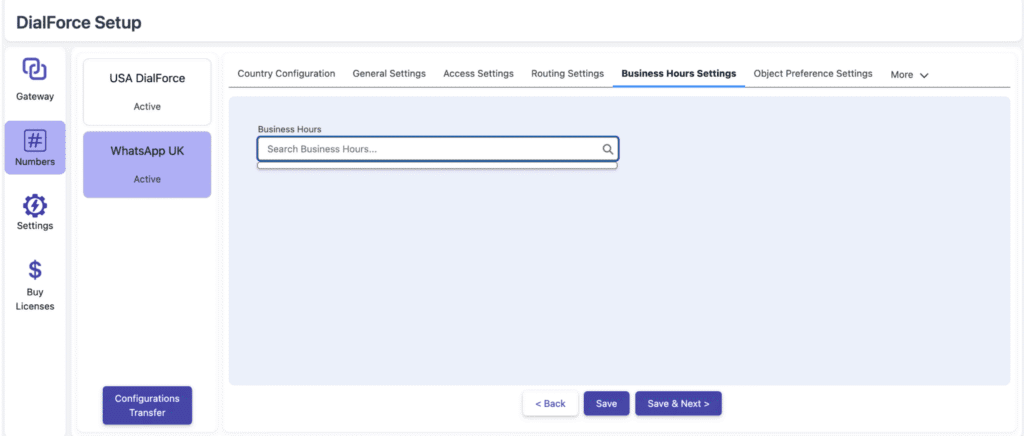
- Create business hours in Company Settings → Business Hours.
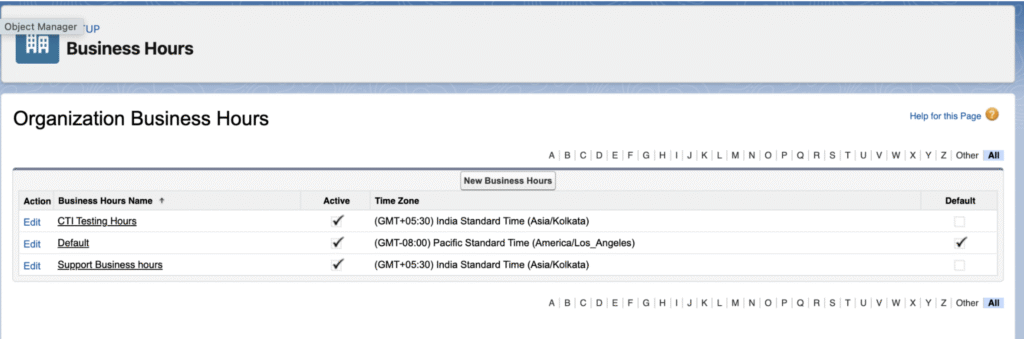
- These hours become searchable here.
- Select the desired business hour schedule.
Incoming calls are only received within the defined business hours.
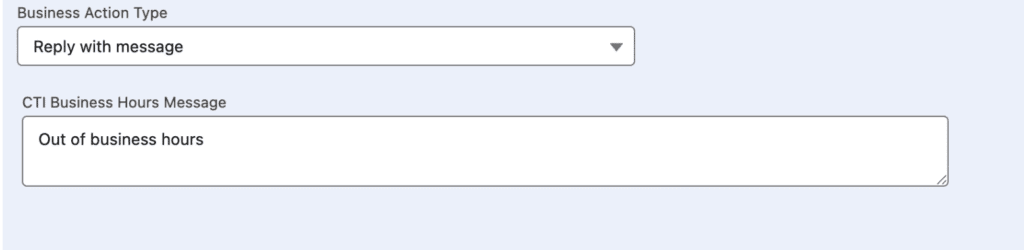
Business Action Type:
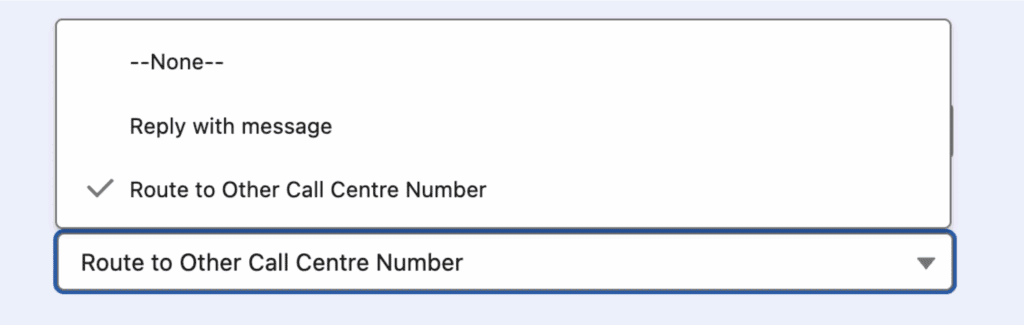
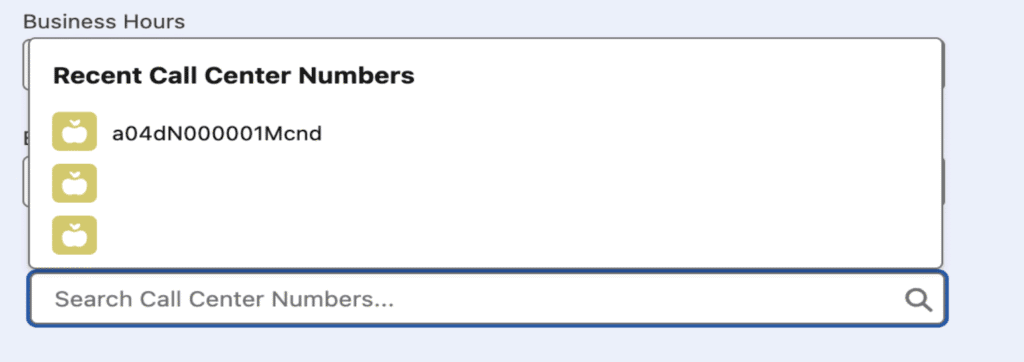
- Route to Other Call Center Numbers: redirects calls to another CTI number if received after hours.
- Reply with Message: sends an automated message (defined in the CTI Business Hours Message box) when calls come after hours.
Step 7: Object Preference Settings
Click the Object Preference Settings tab.
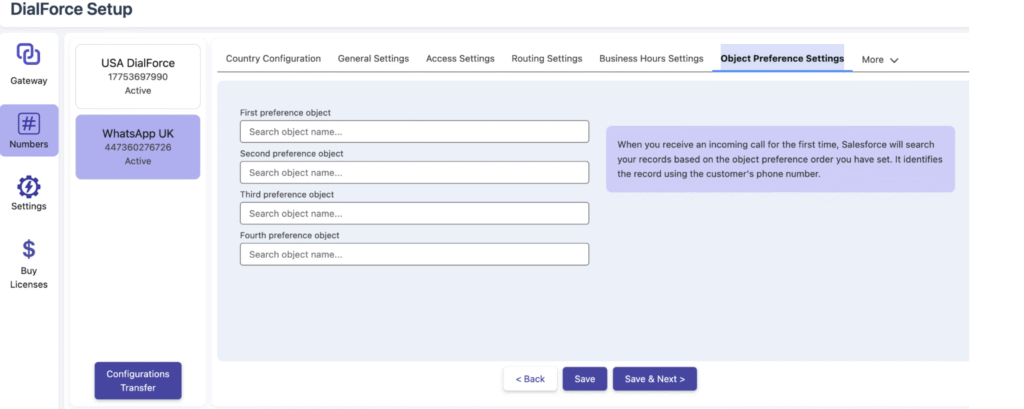
- You will see four input fields for selecting objects.
- When a call comes in, the system searches for related records in the selected objects (based on the caller’s phone number).
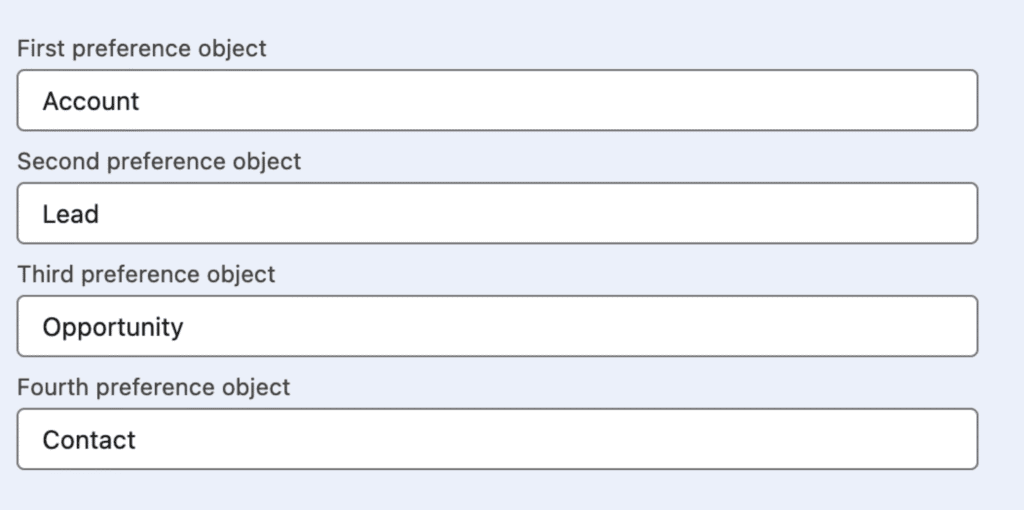
- Use the search box to find and add objects (for example, Lead, Contact, Case).
- Add up to four objects in order of priority.
Step 8: Activity Settings
Click the Activity Settings tab.
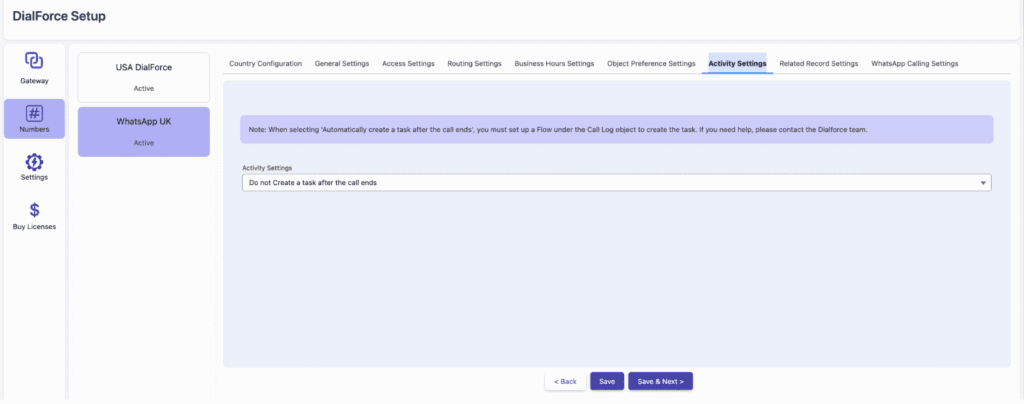
- Automatically Create a Task After Call Ends: creates a task record with call details automatically.
- Do Not Create a Task After Call Ends: no task is created.
- Open Pop-Up Window After Call Ends: opens a window letting the agent create a task manually after the call.

Step 9: Related Record Settings
Click the Related Record Settings tab. This displays records related to the customer’s record (for example, tasks, cases).
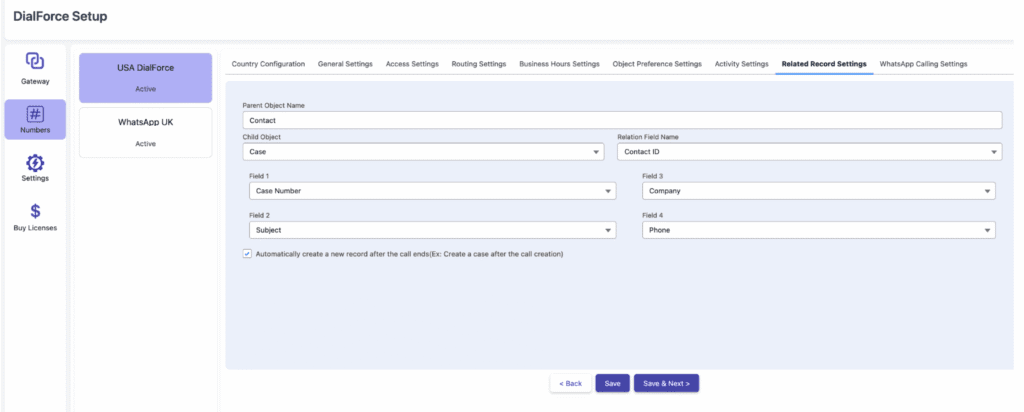
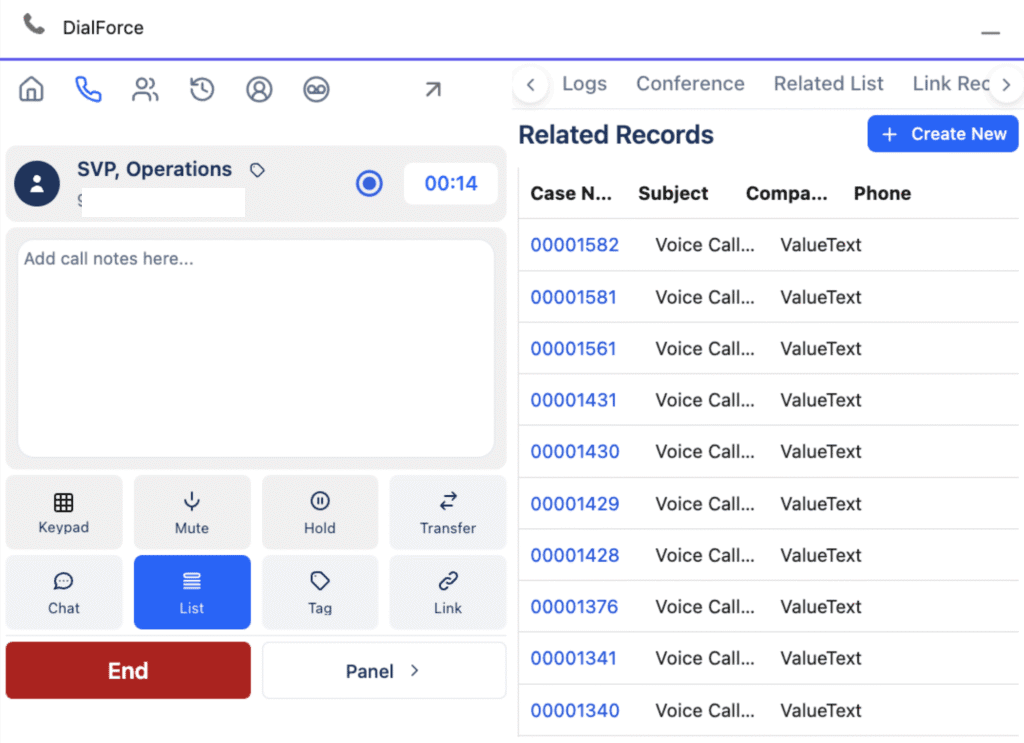
- Automatically Create a New Record After Call Ends: enable this to automatically create a child record (for example, a Case) after the call ends.
Step 10: WhatsApp Calling Settings
Click the WhatsApp Calling Settings tab.
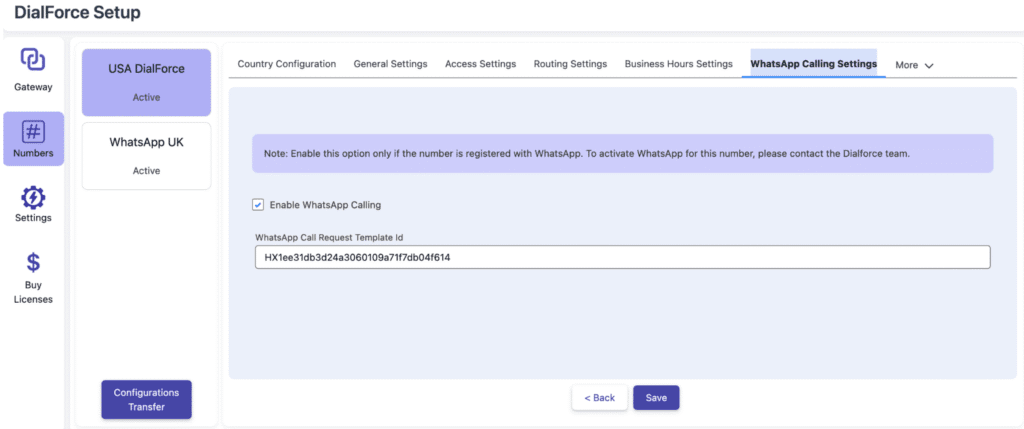
- Enable WhatsApp Calling to activate this feature.
- Enter the WhatsApp Call Request Template ID.
Note: The WhatsApp Call Request Template ID is mandatory for WhatsApp calling to work. Without this ID, a technical error occurs.