This guide explains how to configure a new CTI number for a customer in the app by connecting it with a Twilio account.
Step 1: Open the Gateway Configuration Page #
- Go to the left sidebar of your app.
- Click on the Gateway icon.
- This will open the Twilio Account Configuration page.
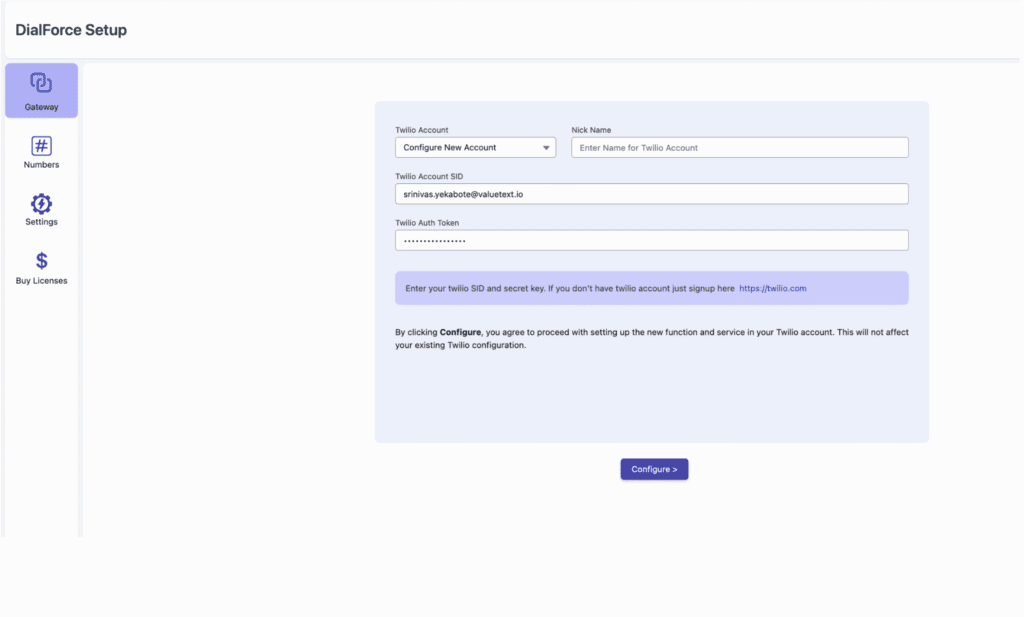
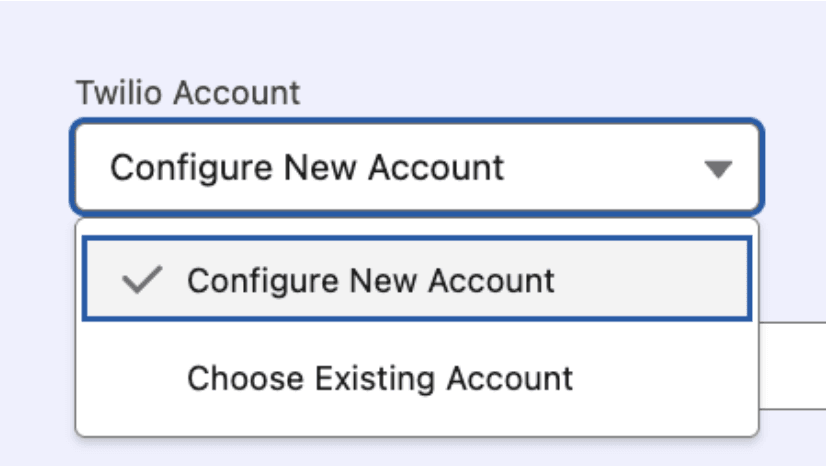
Step 2: Choose Account Type #
You will see two options in the Twilio Account section:
- New Account – If the customer does not have an existing Twilio account.
- Existing Account – If the customer already has a Twilio account configured.
Select the option that applies.
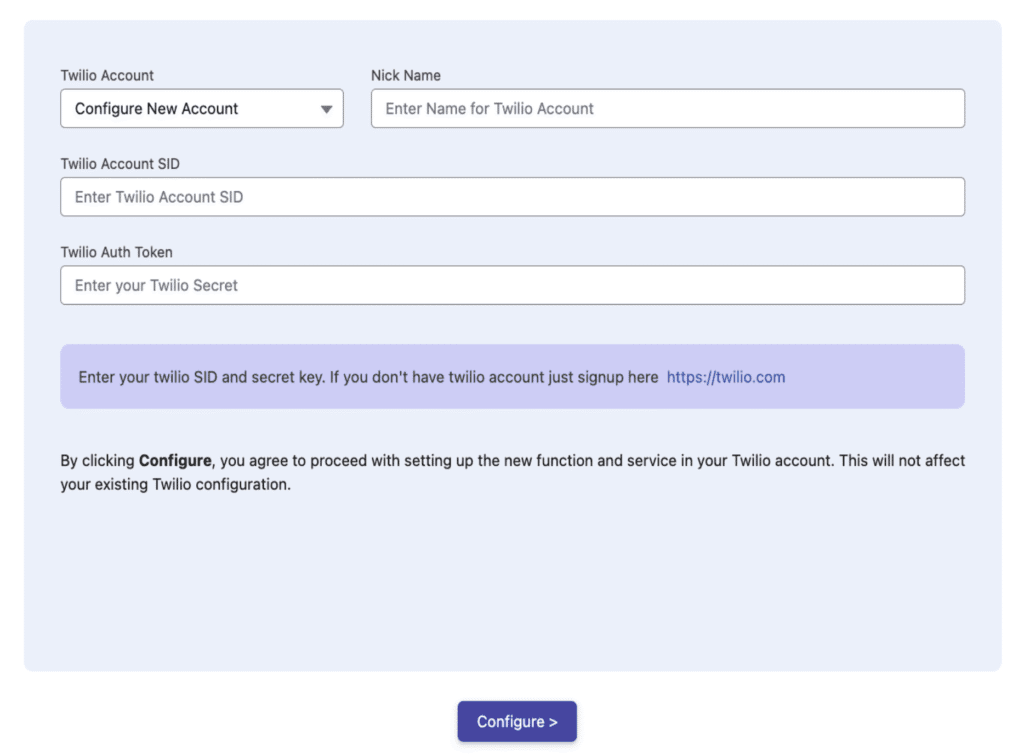
Step 3: Create a New Twilio Account (if needed) #
If you selected New Account:
- A form will appear asking for the following details:
- Nick Name – A reference name for identifying the account within your app.
- Twilio SID – The Account SID from the customer’s Twilio dashboard.
- Twilio Auth Token – The authentication token from Twilio.
- Nick Name – A reference name for identifying the account within your app.
- Enter these details carefully — they are required for authentication with Twilio.
- Click Save to create and link the new Twilio account.
✅ Result: The app will now connect to the customer’s Twilio account for further setup.
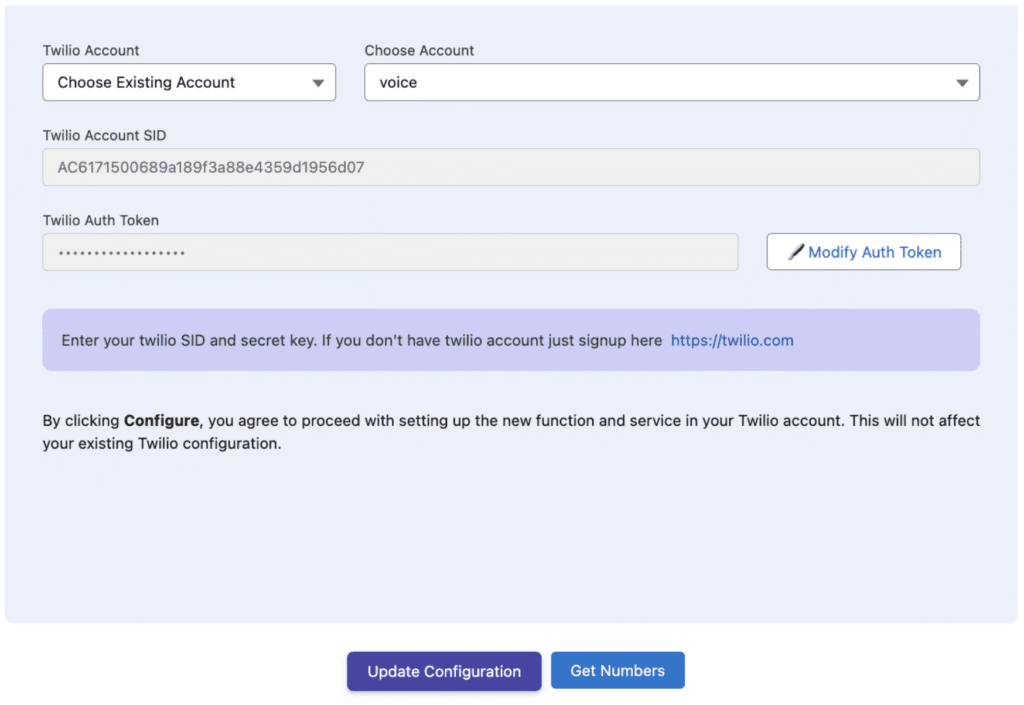
Step 4: Use an Existing Twilio Account #
If you selected Existing Account:
- A dropdown named Choose Account will appear.
- Select the desired Twilio account from the list.
- The account details will appear:
- Twilio Account SID – The connected Twilio account ID.
- Twilio Auth Token – The token used for authentication.
- Twilio Account SID – The connected Twilio account ID.
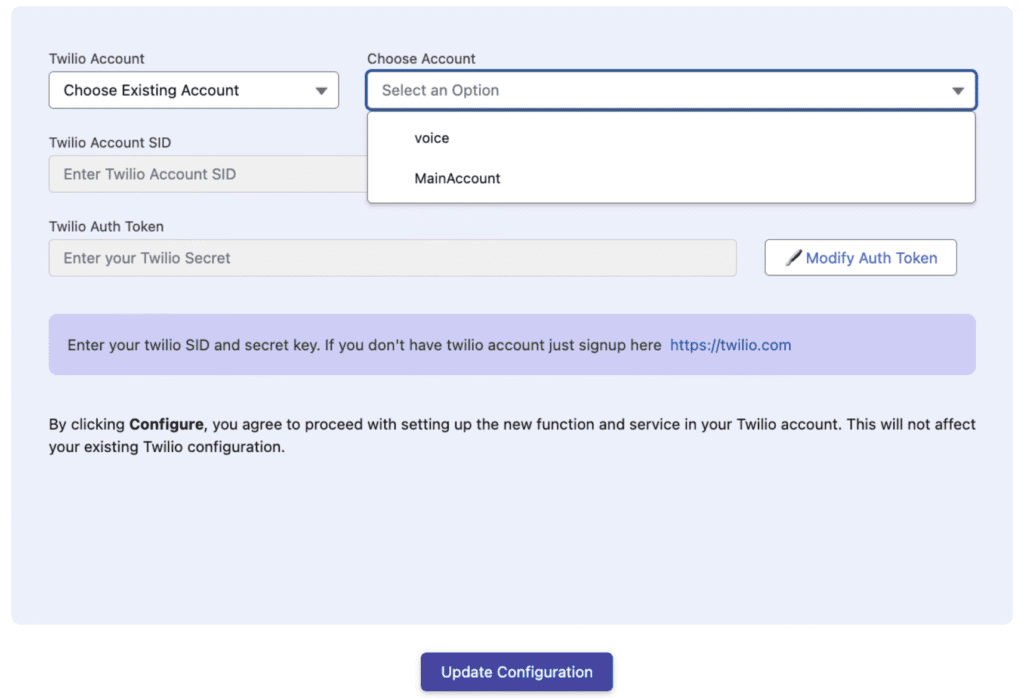
Step 5: Update Authentication Details (if required) #
If the Twilio Auth Token has changed or needs to be updated:
- Click on the Modify Auth Token button.
- Enter the new Auth Token exactly as shown in the Twilio dashboard.
- Click Update Configuration.
✅ Result:
- The app will automatically sync the updated authentication details with Twilio.
- It will also refresh and update Twilio-related configurations such as:
- Environment Variables
- Serverless Code
- Code Deployment/Updates
- Environment Variables
Step 6: Retrieve Twilio Numbers #
Once the account is configured:
- Click on the Get Number button.
- The app will fetch and display all Twilio phone numbers linked to the selected account.
- You will be able to see:
- Number List
- Status of Each Number (active, inactive, etc.)
- Number List
✅ Result: You can now view all numbers available for CTI use.
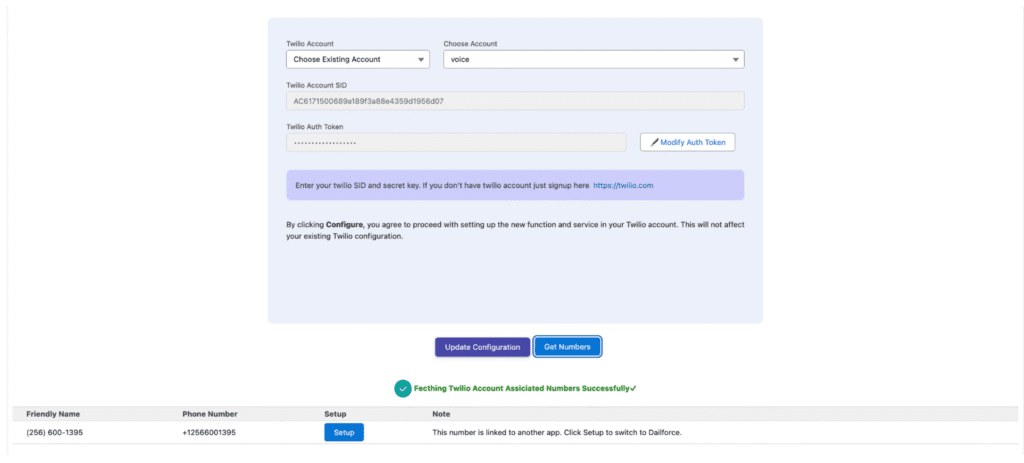
Step 7: Set Up or Edit Number Labels #
To organize and identify numbers easily:
- Click on the Setup button next to the desired Twilio number.
- A popup window will appear.
- Enter or edit the Number Label (for example, “Support Line” or “Sales CTI”).
- Click Save.
✅ Result: The number label will be updated in both your app and the Twilio account.

Step 8: Finalize Configuration #
After updating the Twilio account and labeling numbers:
- Your CTI number setup is complete.
- The configured number can now be used for inbound and outbound calls via Twilio within your app.
All account updates and number configurations are synced automatically between your app and Twilio.


